Cove Case Study
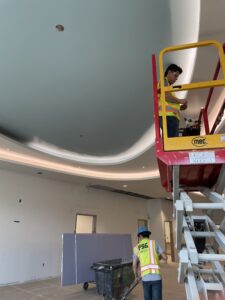
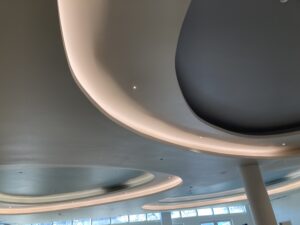
Recently, I was called to a job site to inspect a cove where the light was uneven, with strange striations reflecting on the ceiling. After talking to the lighting manufacturer, they recommended I inspect the cove to make sure it was clear of dirt, dust, and debris.
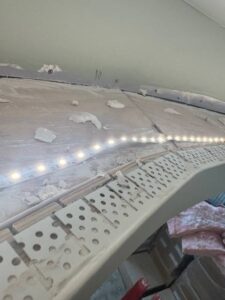
Pictures showed that the cove had not been cleaned, so that was our first step. However, this did not solve our problem.
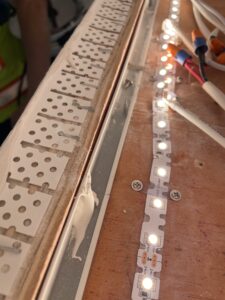
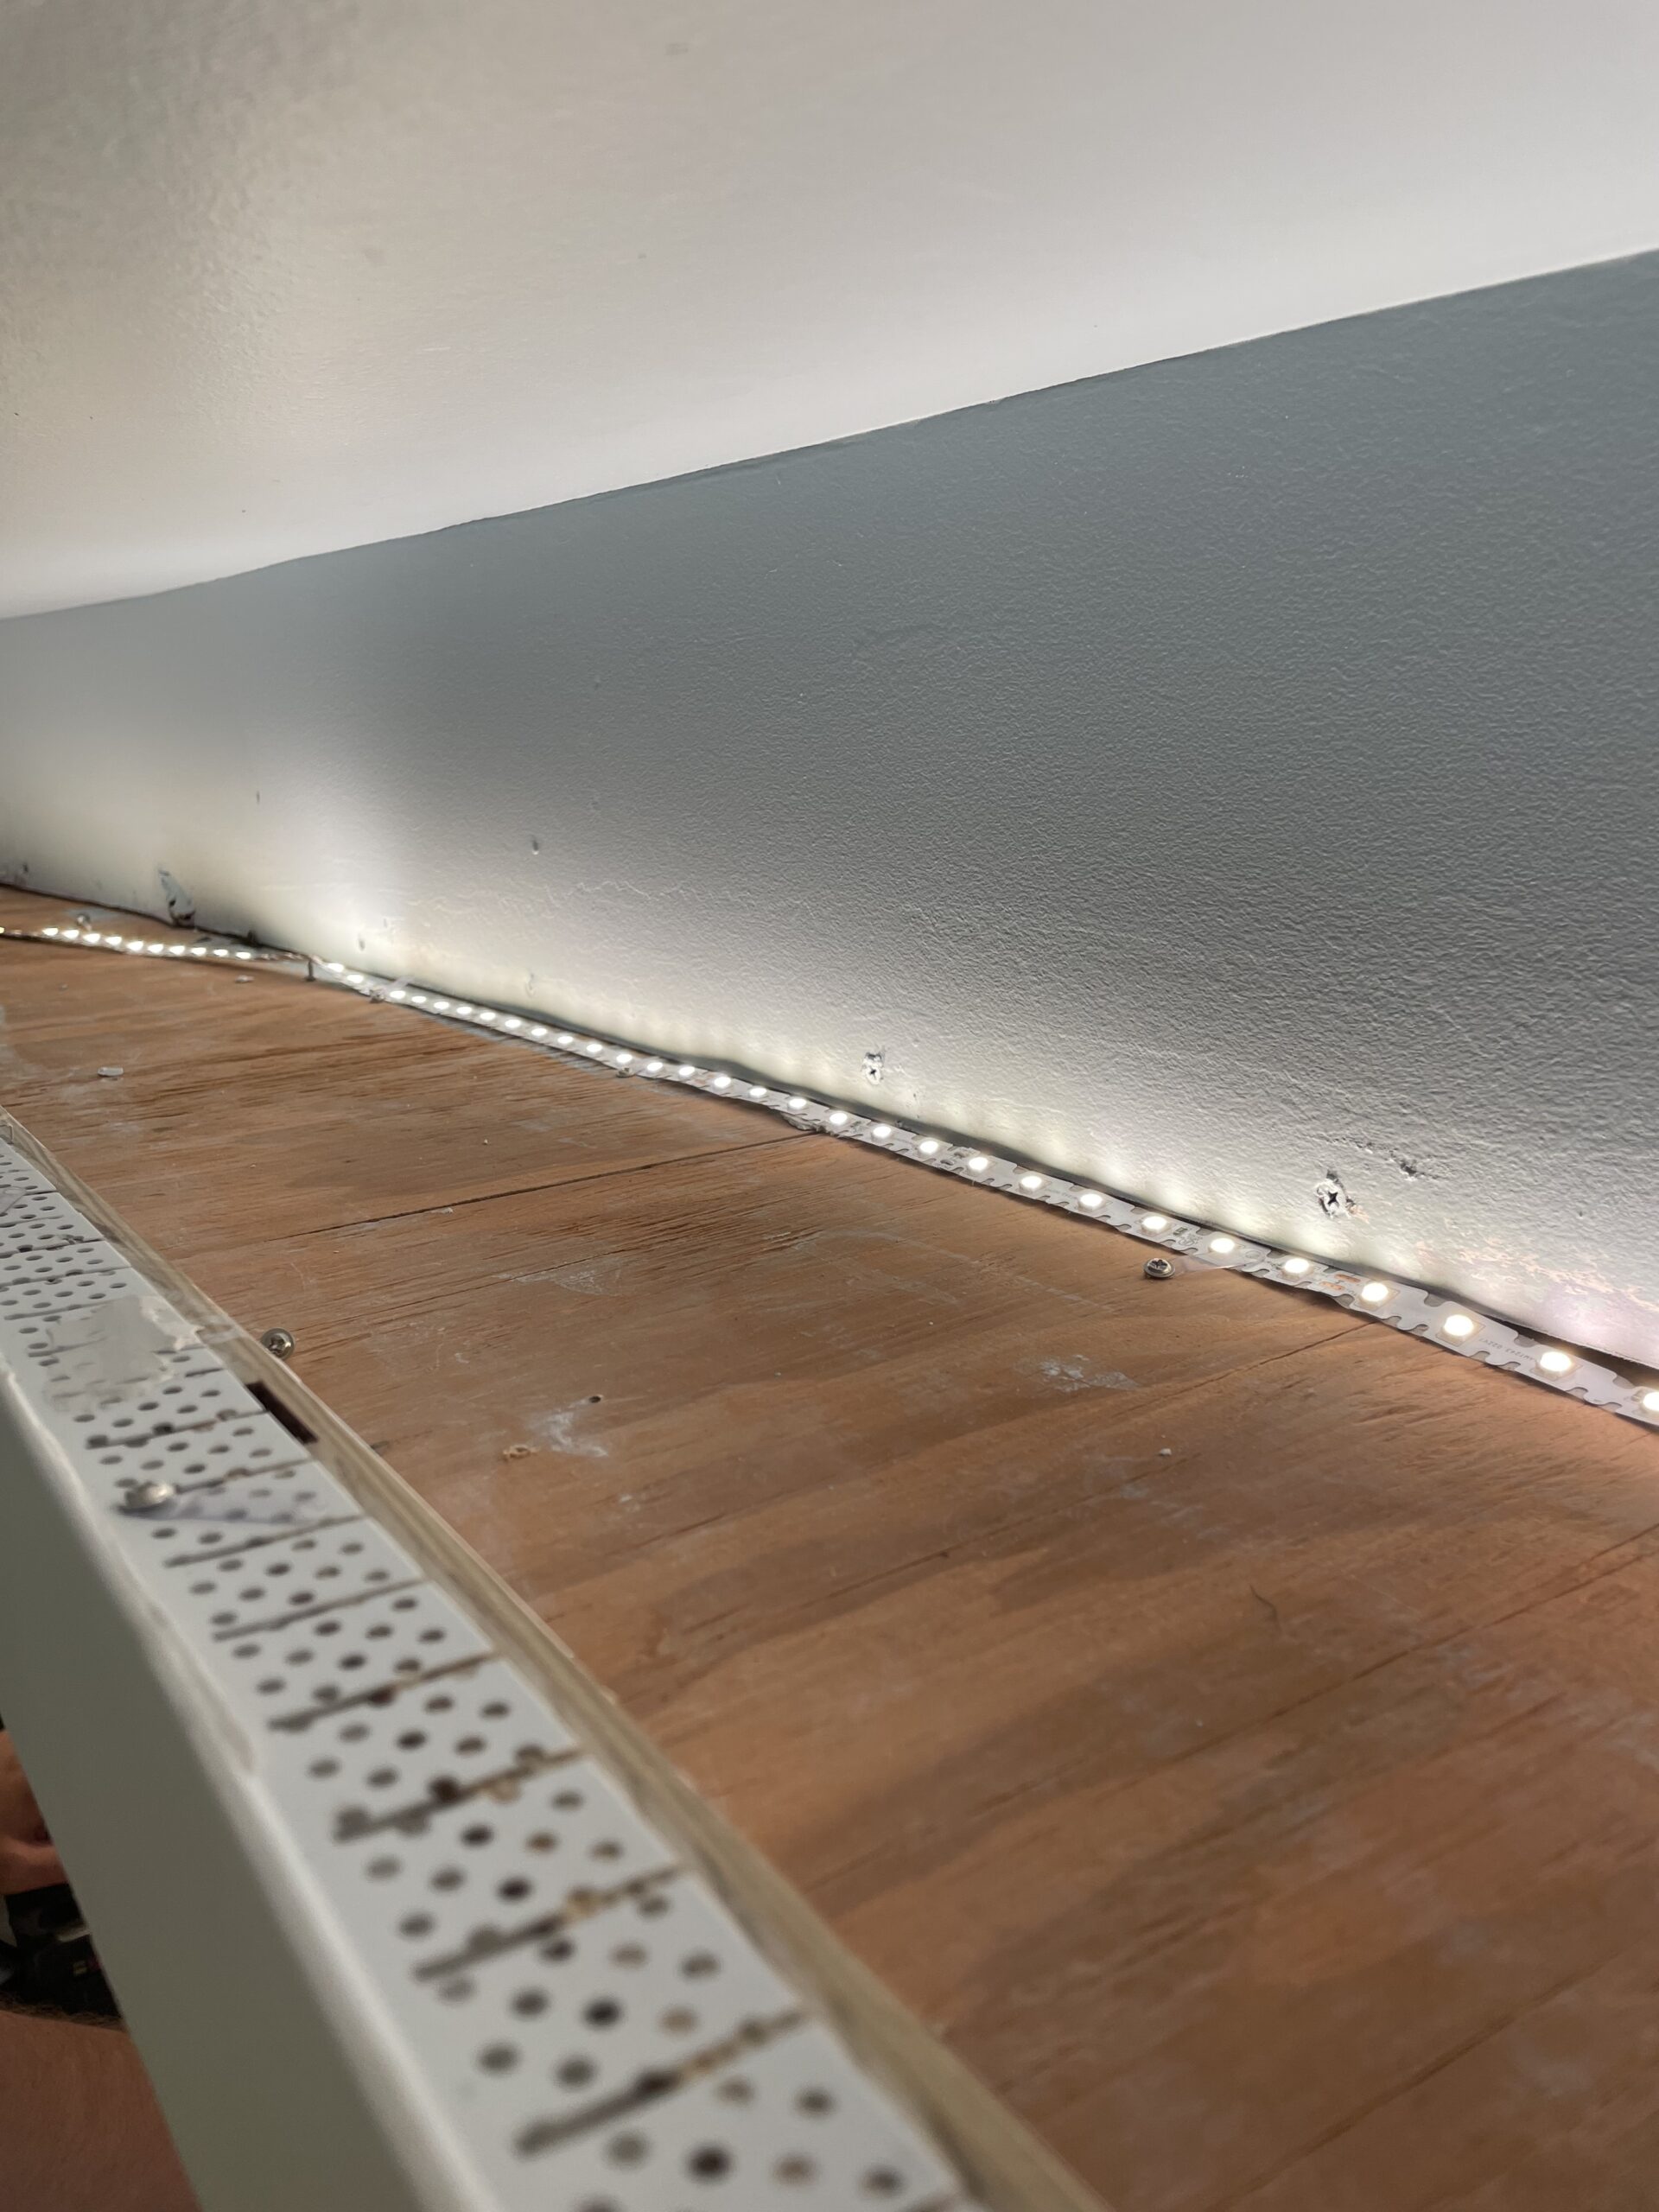
For this application, we used a 120-degree beam LED on a flexible tape so it could easily form to the organic and round-shaped coves. There was about a 2-3 inch lip on the front of the cove, so it made it difficult to get the full beam of the LED’s without raising it to be even with the top of the lip.
At the site, the contractor let me use a lift to observe for myself. One of the workers pointed out to me that the vertical face of the inside of the cove was uneven. It had mud from the installation in globs here and there. He said that this might be why we were getting weird shadows on the ceiling. It was an excellent observation!
We discussed smoothing out this edge but the labor involved in doing that would be long and difficult. Since the cove is so short, it makes it hard to even use a drill to secure the straps over the tape.
I asked them to take off the straps for a 3ft section of tape light so we could move it around and try different positions in the cove.
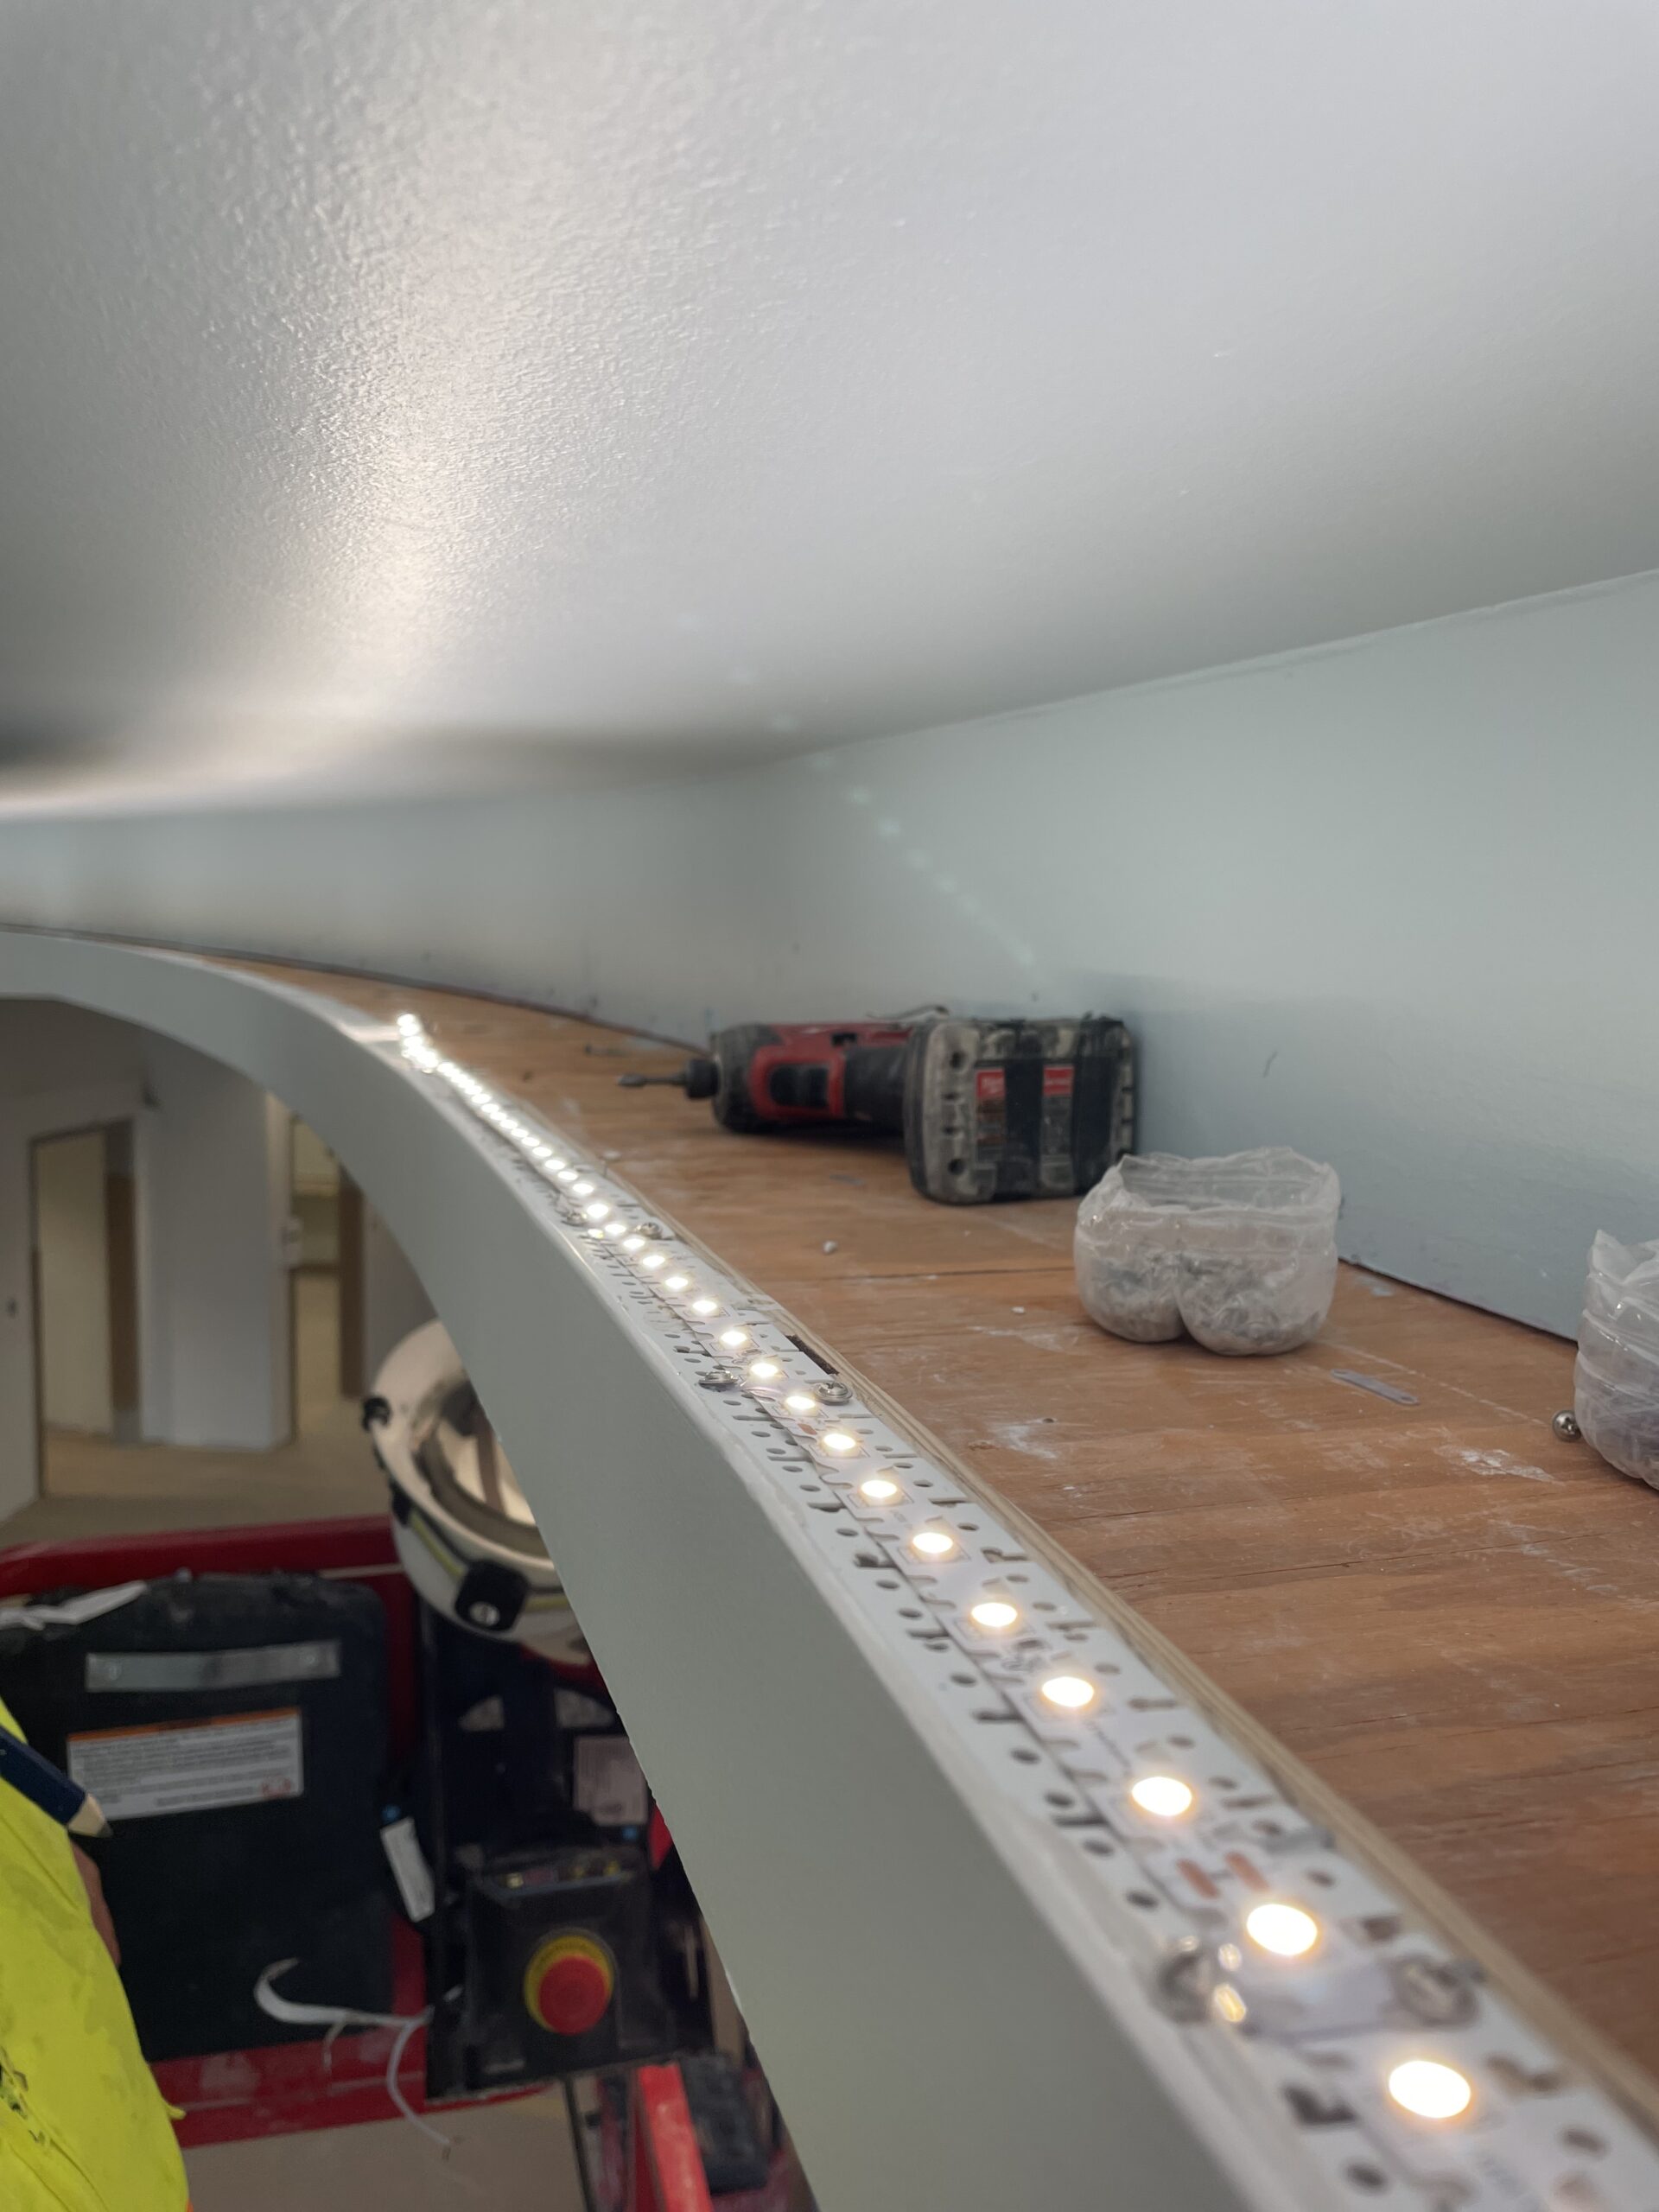
First, we temporarily positioned the tape on top of the cove ledge. This eliminated the shadows but resulted in a very sharp line/hot spot on the ceiling. This was not the desired effect. We needed the light to fade out gradually.
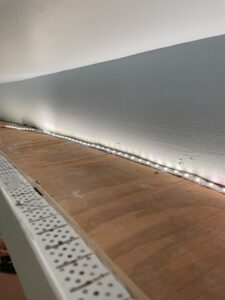
Then we moved it to the back of the cove, further away from the uneven vertical face inside the cove. This test gave us the graduated effect we needed!

Although the workers will have to move the tape in these coves, going forward it has saved a lot of work. And luckily, they did not use the 3M tape on the back which would have made it nearly impossible to reposition.
Another tip that would improve the reflectance of the light inside the cove would be to paint the unfinished wood a flat white. This would further help to reflect and bounce the light around and out.
I will post final pics when it is finished!

